3 Easy DIY Kitchen Makeover Tips on a Budget
06/07/2022
Tip #1 – Spice up your cabinets
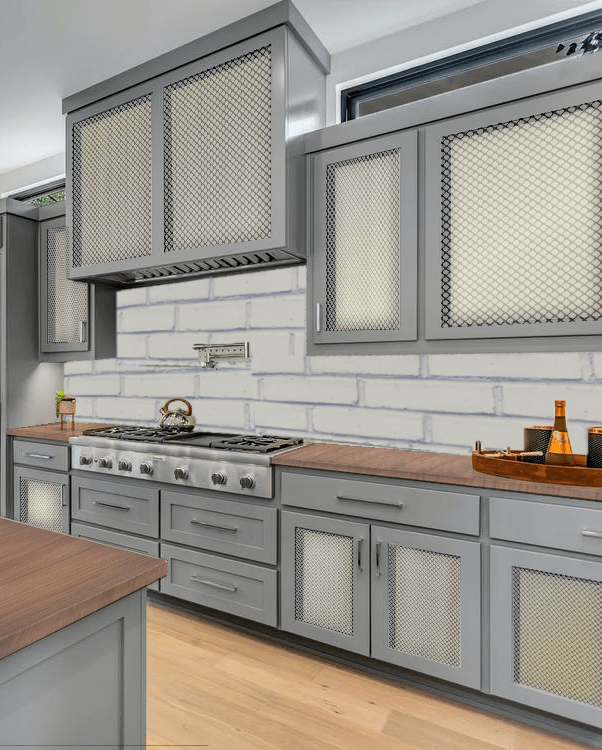
First, cut out the inside panel of your cabinets and measure the width and length of the hole from the inside (ideally leaving a small lip – this will make things easier later on), then set them aside. Next, you’re going to want to take some decorative aluminum sheets (these can be purchased at most hardware stores for between $30 – $40) and cut them with tin snips to fit the measurements just taken.
If the gray metallic color of the sheet doesn’t match your kitchen, this is the stage where you’ll want to repaint it. We recommend using spray paint, as it is less likely to leave clumps of paint as it dries. This will require a few steps to make sure it’s done right, though:
- Thoroughly clean the aluminum and let it dry.
- Sand the metal surface with coarse-, then fine-grit sandpaper.
- Apply self-etching primer, let dry, then sand again.
- Apply paint (multiple coats, and sanding between coats, may be necessary).
- Apply enamel sealer.
Now, use some heavy duty hot glue to stick the sides of the sheet to the lip on the inside of the cabinet door, and voila! Now your cabinets have some extra style points, and you can see inside them!
Tip #2 – Fresh-looking countertops
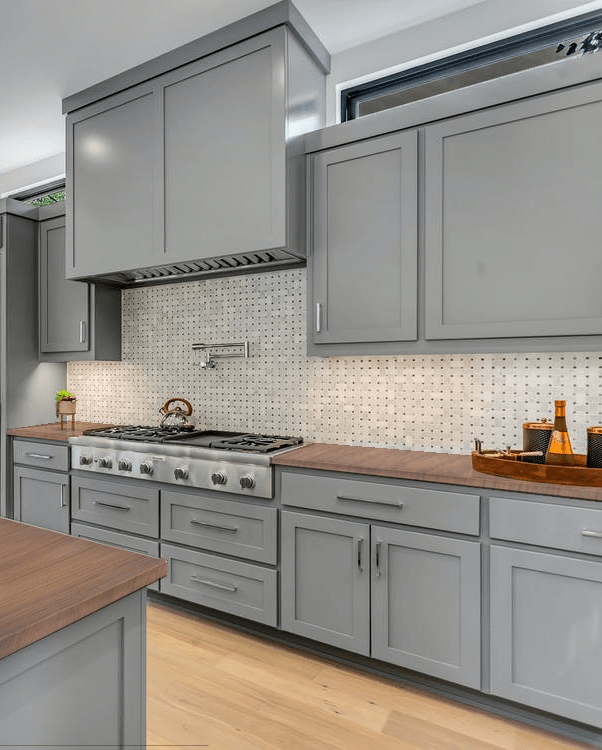
This one is simple, but extremely effective in getting your dream countertops and rent-friendly! All you need is contact paper (in your desired pattern/texture), a hard plastic card (a credit card works just fine), and a pair of scissors.
First; apply the contact paper to your countertop by applying pressure, then bit by bit, smooth out any air bubbles with the card. Repeat this process until you get to the edge of your countertop, then simply cut the excess and stretch/wrap it underneath the edge (when it comes to the edges that collide with the walls/cooker, use a box cutter to score the wrap and then pull it away from the main section).
Tip #3 – Perfect kitchen walls
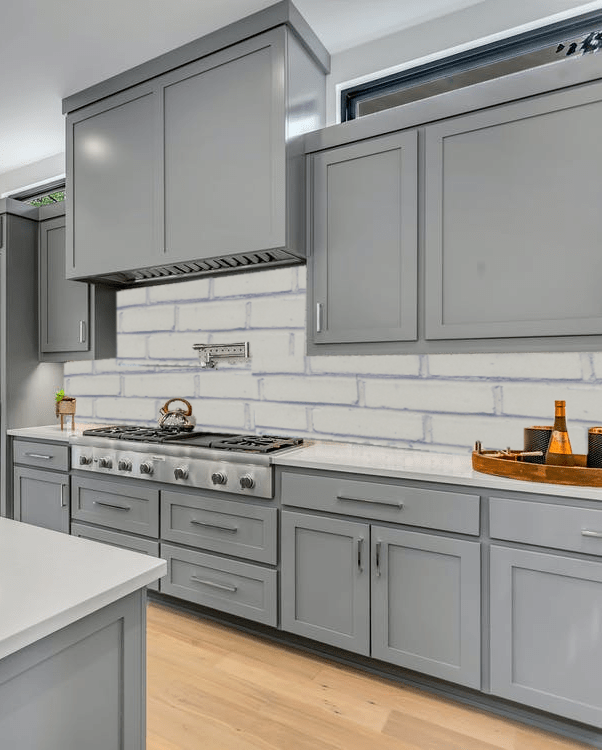
Using adhesive wall tile sheets means you can cut your chosen design to fit any shapes & sizes of your back kitchen wall. Due to their easy-cutting, you can cut them in larger chunks, for the easy parts of the wall, then go as low as one section for the harder parts. Once you’ve stuck them up, remove the plastic covering from the top and you’re all set!
